Users
Overview
Cascade CMS requires individuals using the system to authenticate upon login for security, logging, and resource management purposes. Each user has a user account with a Username, password, and optional full name and email. Group and Role memberships must be assigned to each user to determine which tasks that user may perform and their access to various system resources.
You can access the Users menu by clicking the system menu button ( ) > Administration > Users. The following information will be displayed for all users:
- Username
- Full Name
- Last Login
From this screen you may also filter by:
- Users who are Enabled and/or Disabled in the system.
- Users who have logged in At least once and/or Never.
Click on any user in the list to view their Settings, Groups, and Roles. Additional options are available in the More menu while viewing a user:
- Workflows - A list of the user's owned workflows and waiting workflows (workflows assigned directly to the user or their group).
- Locked Assets - A list of assets currently checked out by the user. You can select one or more assets in the list and click the Break Lock button to discard the user's changes to the selected assets.
- Drafts - A list of the user's unsubmitted drafts. You can select one or more assets in the list and click the Delete button to discard the user's changes to the selected assets.
- Audits - A summary of activities performed in the system by the user.
- Delete
- Effective Abilities - An overview of the abilities the user will inherit for a specific site based on their Site Role.
- Assume Identity - Allows you to assume the user's identity and view Cascade CMS as the user sees it.
Adding a User
To add a user to the system:
- Click the system menu button ( ) > Administration > Users and click Add User.
- In the User Settings tab enter the following:
- Enabled - This setting allows you to activate and deactivate the user without deleting the account. It's checked by default when creating a new user.
- Username - A unique name the user will be known by in the system.
- Full Name (optional) - The full name of the user.
- Email (optional) - The email address to which messages such as workflow notifications and the Daily Content Report will be sent.
- Authentication - Determines whether Normal (password) or Custom (single sign-on solution via a custom plugin) authentication is required for this user.
- Password - see password policies
- In the Membership and Roles tab enter the following:
- Groups - Select the group(s) to which the user should belong. Assigning multiple groups to each user is an easy way to customize the permissions options for each user.
- Default Site (optional) - This option will filter the user's dashboard widgets to reflect data from the site selected.
- Role - Select the desired System Role of the user. This role governs the user's access to administrative, non-content areas. The user's actual role abilities are determined by the highest overall permissions when taking into account the user's role(s) AND the roles of the group(s) the user belongs to.
- Click Submit.
Password Policies
Users of authentication type Normal must have passwords that meet the following policies:
- At least 12 characters when using alphanumeric, or 8 characters if using special characters
- Can not include 4 consecutive characters from username, full name, or organization name (i.e. System Name)
- Can not include 4 consecutive numbers or letters (e.g. "defg", "3456", etc.)
- Can not include 3 consecutive characters that are the same (e.g. "aaa", "111", etc.)
- Should not contain common weak passwords
Checking a User's Effective Abilities
The Effective Abilities tool allows administrators to get an overview of the abilities a user will inherit for a specific site based on their Site Role. To check a user's Effective Abilities, click More > Effective Abilities while viewing a user and select a site from the drop-down menu.
Once a site is selected, you'll be presented with a list of role abilities along with whether or not those abilities are enabled for the user in the selected site.
Assuming a User's Identity
Users with the Assume another User's identity ability enabled in their System Role can assume the identity of any other user. This tool can be used not only to get a quick visual representation of what a user sees but also what they can access in different sites.
To assume another user's identity, either select the user from the user list and click the Assume this user's identity button at the top of the list or click More > Assume Identity while viewing a user.
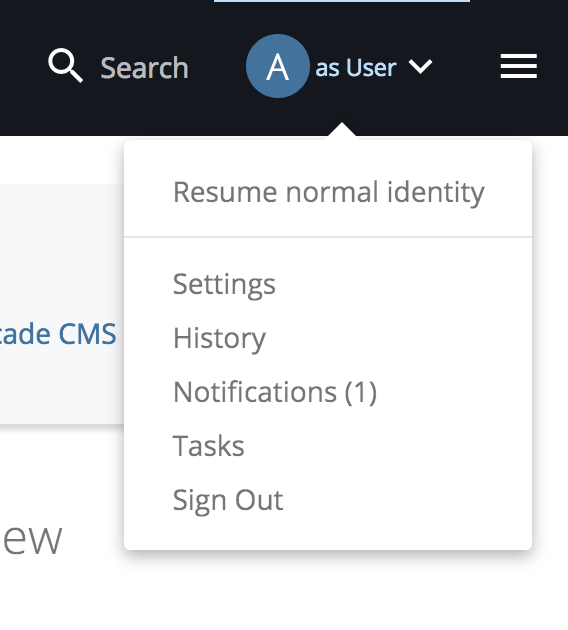
After assuming a user’s identity, you'll see exactly what that user will see when they're logged into the system. You can switch back to your own identity by clicking Resume normal identity under the User Menu.